


Visit us with your pets on Instagram.
Shop Dog
Shop Cat
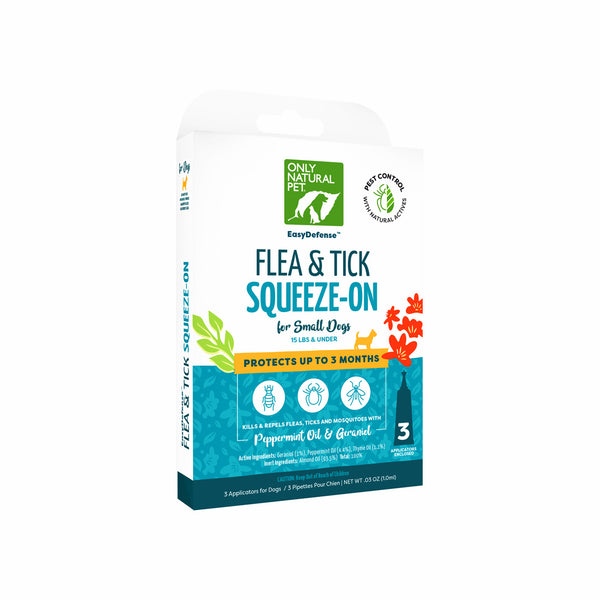
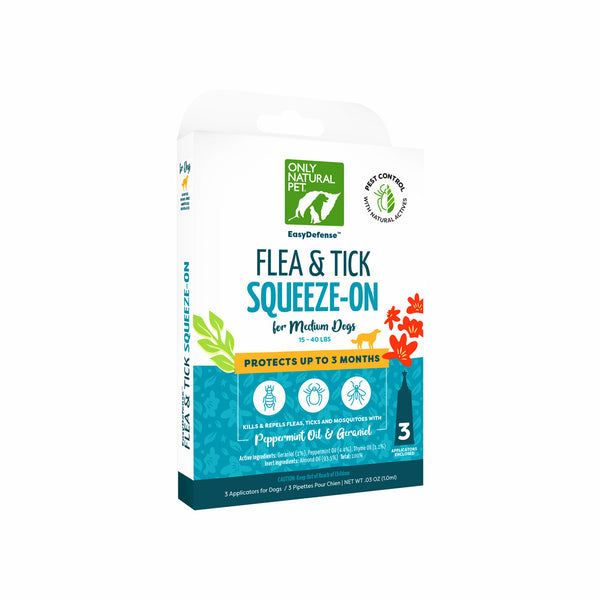
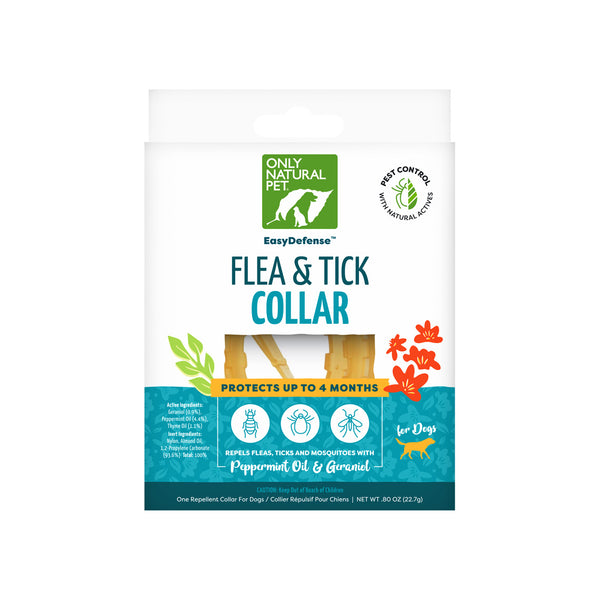
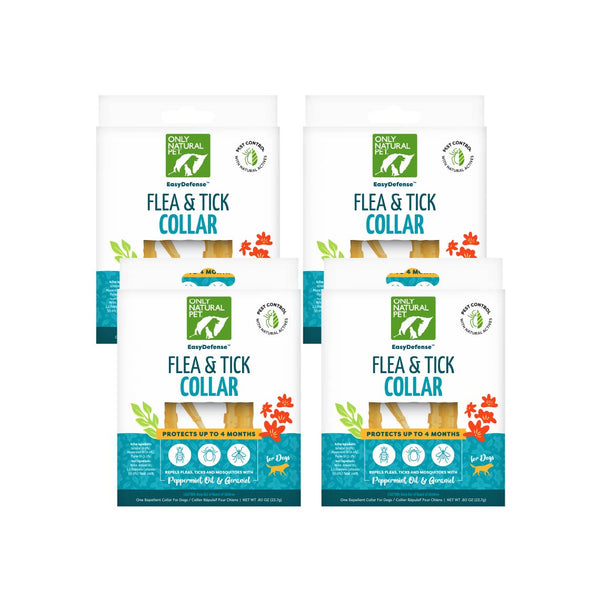
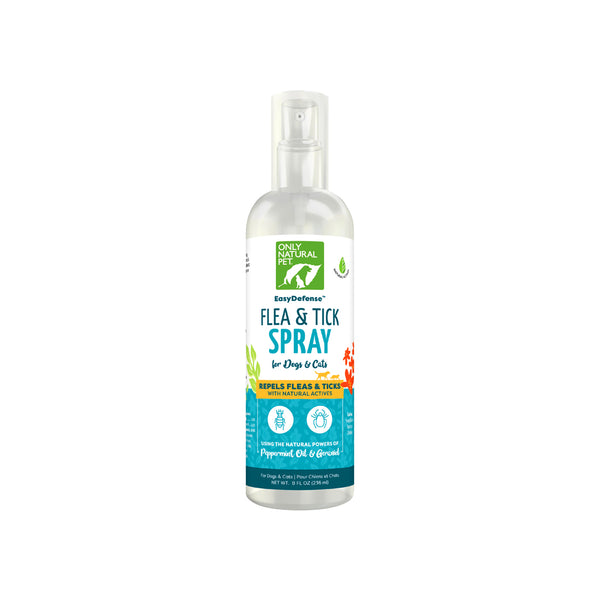
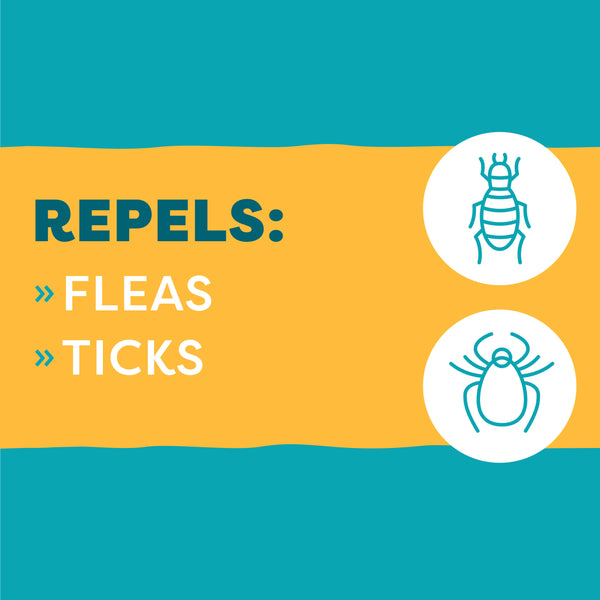
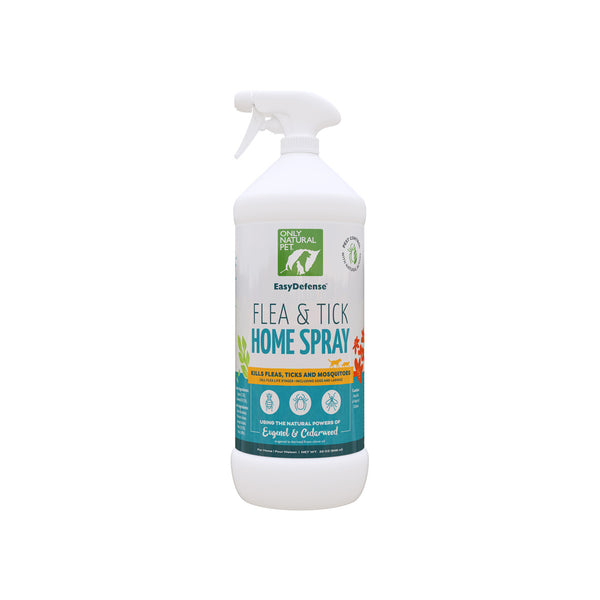
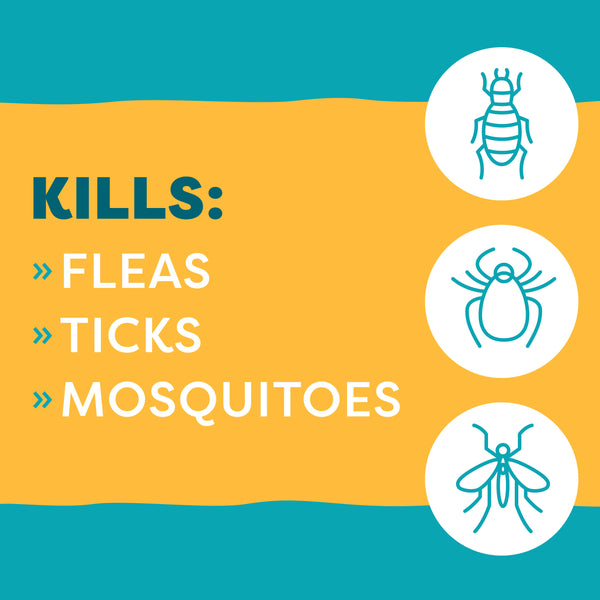
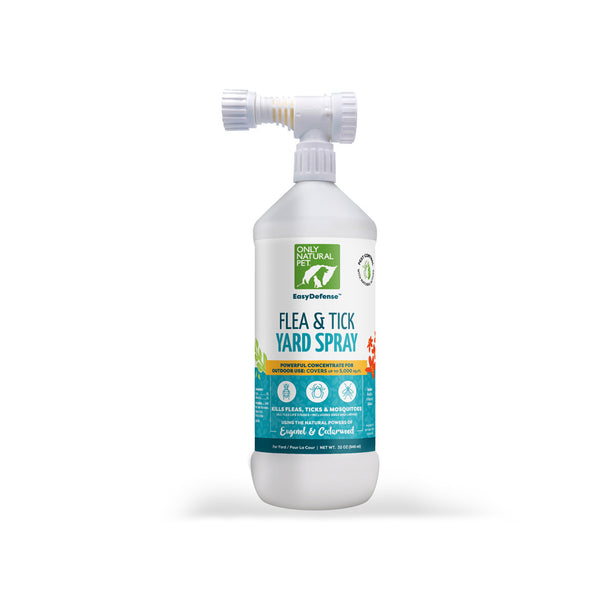
Natural Flea & Tick Control
Trending now
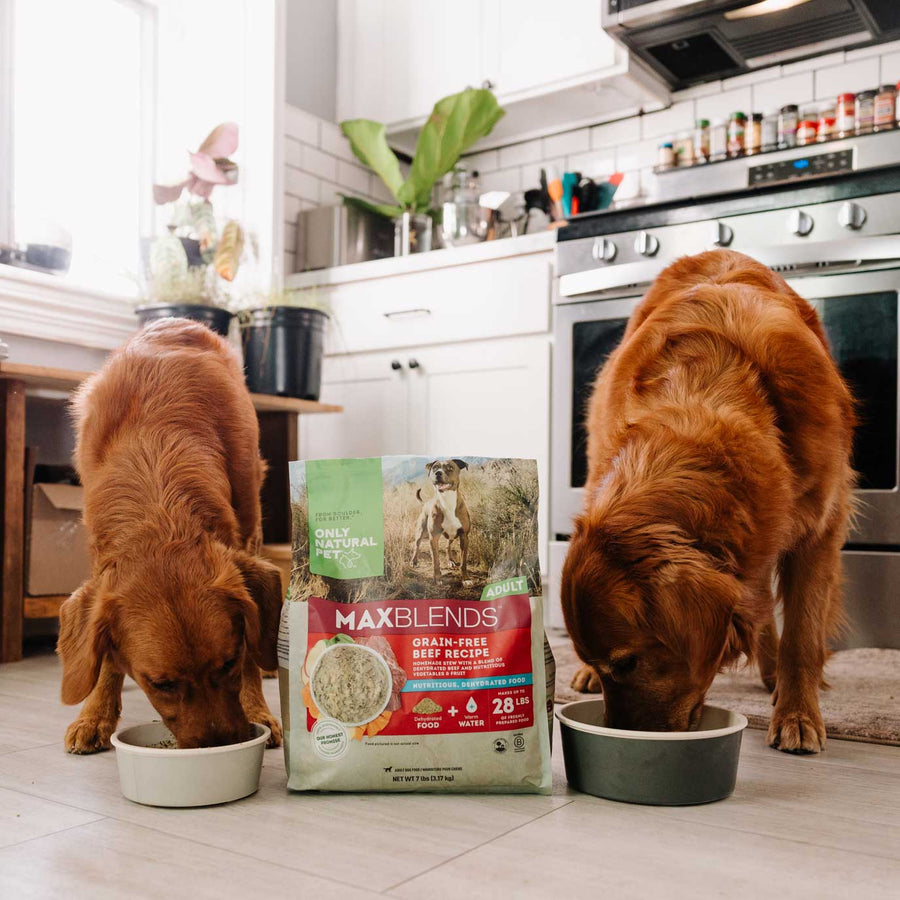
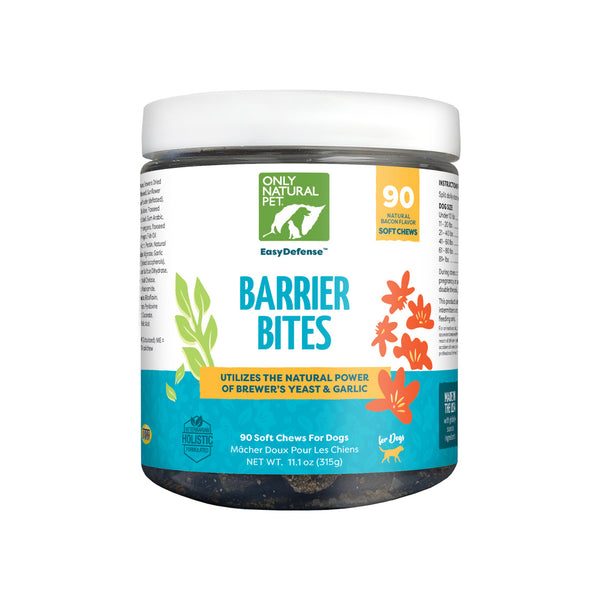
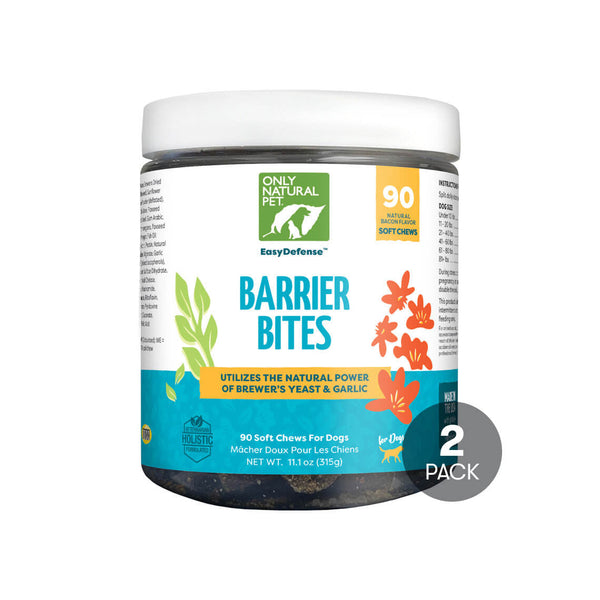
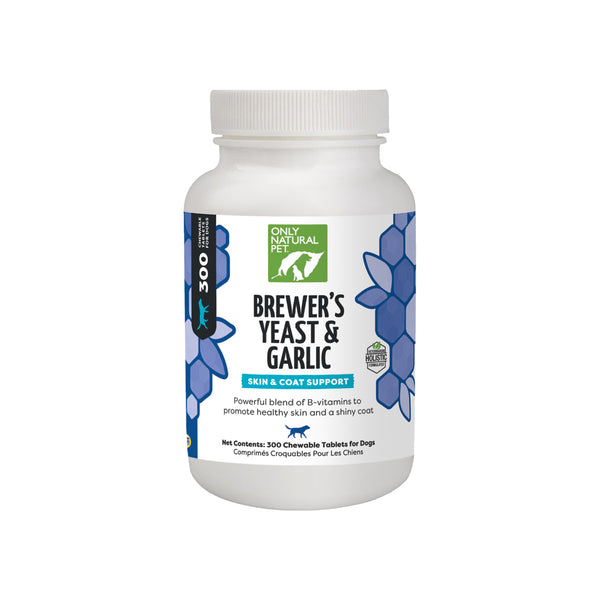
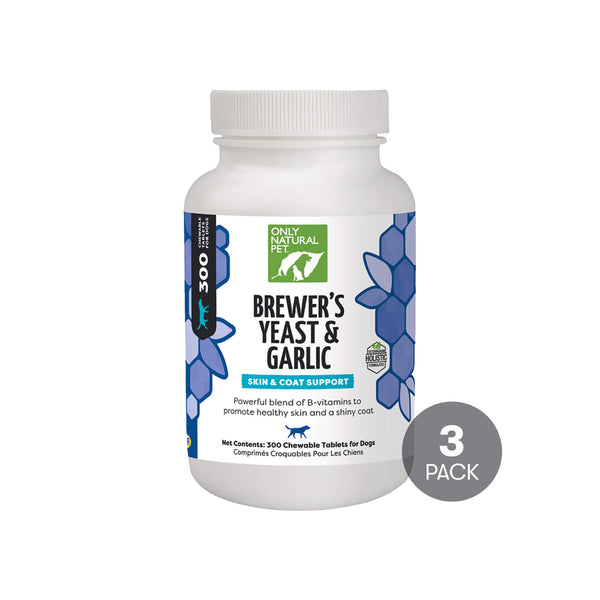
At Only Natural Pet, we source only the best pet products made with good-for-them ingredients you can trust. From mealtime, playtime, treats, and beyond, our natural pet products are sustainably sourced, made with the highest-quality ingredients, and scrutinized for the health and safety of our pets and planet.


